DIY your very own locker labels to help make school mornings a little easier!
Getting the kids ready to go back to school is always a busy time of year, and anything that helps with getting organized is a bonus in our books!
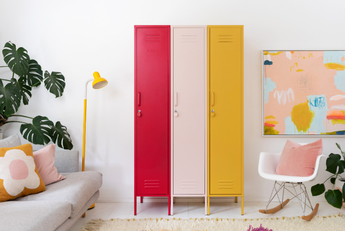
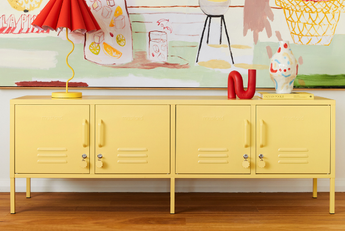
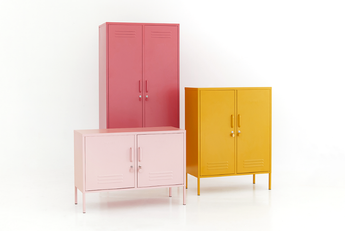
We pride ourselves on storage that is both pretty + practical, and in this DIY we’ve teamed up with the creative folks at Cricut to help you and your little ones personalize your locker, and make it extra special in the process.
Our perfectly customized labels make it easy to sort everything from dreams to dress ups.

What you need:
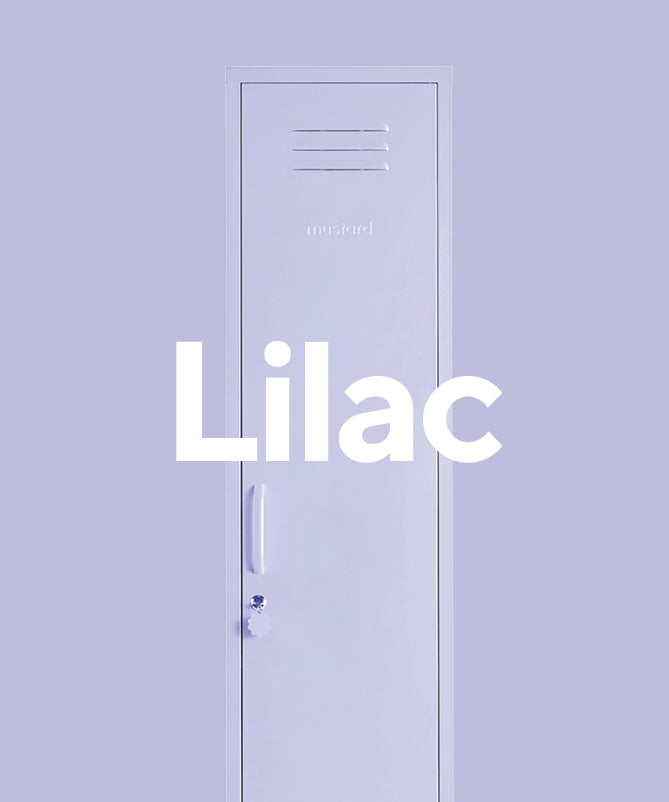
- Your Mustard Made locker
- Cricut Maker 3 machine
- Our downloadable label template
- Cricut SmartVinyl in your color of choice
- Cricut Transfer Tape
- Cricut Weeding tool
- Cricut Scraper tool
- Scissors
Step by step:

one.
Using either your laptop, desktop, phone or tablet, import our downloadable label template into the Cricut Design Space app. We’ve made this design exactly the right size for our shelves (and the file has been arranged with the labels tightly positioned to minimise vinyl waste). Once it’s set up, load your vinyl into the Cricut machine. The Maker 3 is great because you don’t need a cutting mat!
two.
Using the weeding tool, carefully remove the negative space. The insides of letters (like o and a, for example) are a little finicky, but if you bump them out of place they can be easily nudged back into position!

three.
Cut the vinyl designs into smaller, individual pieces. Then apply Transfer Tape over the vinyl, using the scraping tool to make sure the application is smooth, with no air bubbles. Slow and steady is usually the best method here!

four.
Remove the backing from the vinyl, and position the label flush with the bottom of the front-facing edge of the shelf. If you want the label to be exactly in the middle, make sure you measure first! (For The Skinny we measured 3.74 inches from the edge to get the label centre) When you’re happy with the position, press the design down and slowly work across the front surface with the scraper tool. Then fold the top, squiggly section over the edge, and press that down too, starting at the front and smoothing towards the back.

five.
Peel off the Transfer Tape (you can save this to reuse a few more times), and repeat this process for any other labels you’d like to apply.

six.
Enjoy the spot of instant tidiness!














Leave a comment